The mouthfill is an advanced equalization technique which was in invented by Eric Fattah, and changed the way freedivers dive passed their residual volume. It allows divers to reach rather extraordinary depths and one of it’s strengths is to dive below residual volume in a very safe way, eliminating or avoiding any problems with pulmonary edema.
What is the mouthfill?
Simply put, it’s a way of filling your mouth (oral cavity) by charging and using that air inside to equalise. The mouthfill is a new and evolved way to perform the instinctive frenzel techique. What do I mean by this? Generally, everyone learns how to frenzel by using the tongue. Air is simply stored behind the tongue and it’s volume is reduced by an upward motion causing an increase in pressure which leads to equalisation. By charging the oral cavity, this give us two additional ways to compress the air by changing its volume; by means of the cheeks and jaw compression. It is an extension of the frenzel.
Why do we need to learn the mouthfill technique?
The mouthfill helps us protect the lungs from injuries at depth. At a certain point during the dive, we charge our mouth and use the air inside to equalise our ears to depth.
As we begin our dive, our lungs will begin to compress because of the pressure. There will come a point where the lungs of a freediver will reach their residual volume, which is the volume of air remaining in the lungs after a maximum exhalation, also known as failure depth. Failure depth is where a normal equalisation of the freediver simply fails. The failure depth is governed not only because of an inability to shift air, but also because of fine tuning equalisation and the residual volume.
We must learn the mouthfill technique to dive passed our residual volume.A diver must push air into the mouth, lock the air inside by closing the glottis (or simply holding the charge) and finally manage to compress the air by using the cheeks, jaw and tongue. If a diver tries to push the air very close to, or beyond their residual volume, this can be dangerous and cause a lung squeeze or pulmonary oedema.
When should I start learning the mouthfill?
There is no good or bad time to start learning mouthfill, especially if you are curious as there are many elements to it; using phonetics to open and close the soft pallet, filling up the different parts of the mouth, all the way to learning how to compress the air. There are however some good indicators of when it’s a good time to start:
- You are comfortably freediving using the frenzel method to depths of 35-40 metres in a truly relaxed way
- You are well aware of and have good control the tongue and three locks
The mouthfill technique is covered in our 10 day Molchanovs Wave 3 course
What is the difference between sequential and constant pressure?
Constant pressure means that we are holding the pressure to keep the tubes open throughout the dive or throughout the duration of the hold. Sequential pressure means we are increasing the pressure and decreasing it right after. Imagine a drum beating every two seconds. Now I’d like you to create pressure on each beat. This is sequential.
Am I constant or sequential?
Constant pressure requires more control than sequential. Most freedivers who are thought through constant pressure method are often creating too much pressure. In truth, you should always go with whatever method floats your boat. Choose the method you are more inclined to do.
At what depth shall I start charging the mouthfill?
This all depends on what your target depth is and how full you can charge your mouth. Generally, if you know how to charge the oral cavity well, anywhere between 15 and 20 metres. If your technique is good, this can take you to 90 metres. Remember that charging close to your critical volume can be stressful.
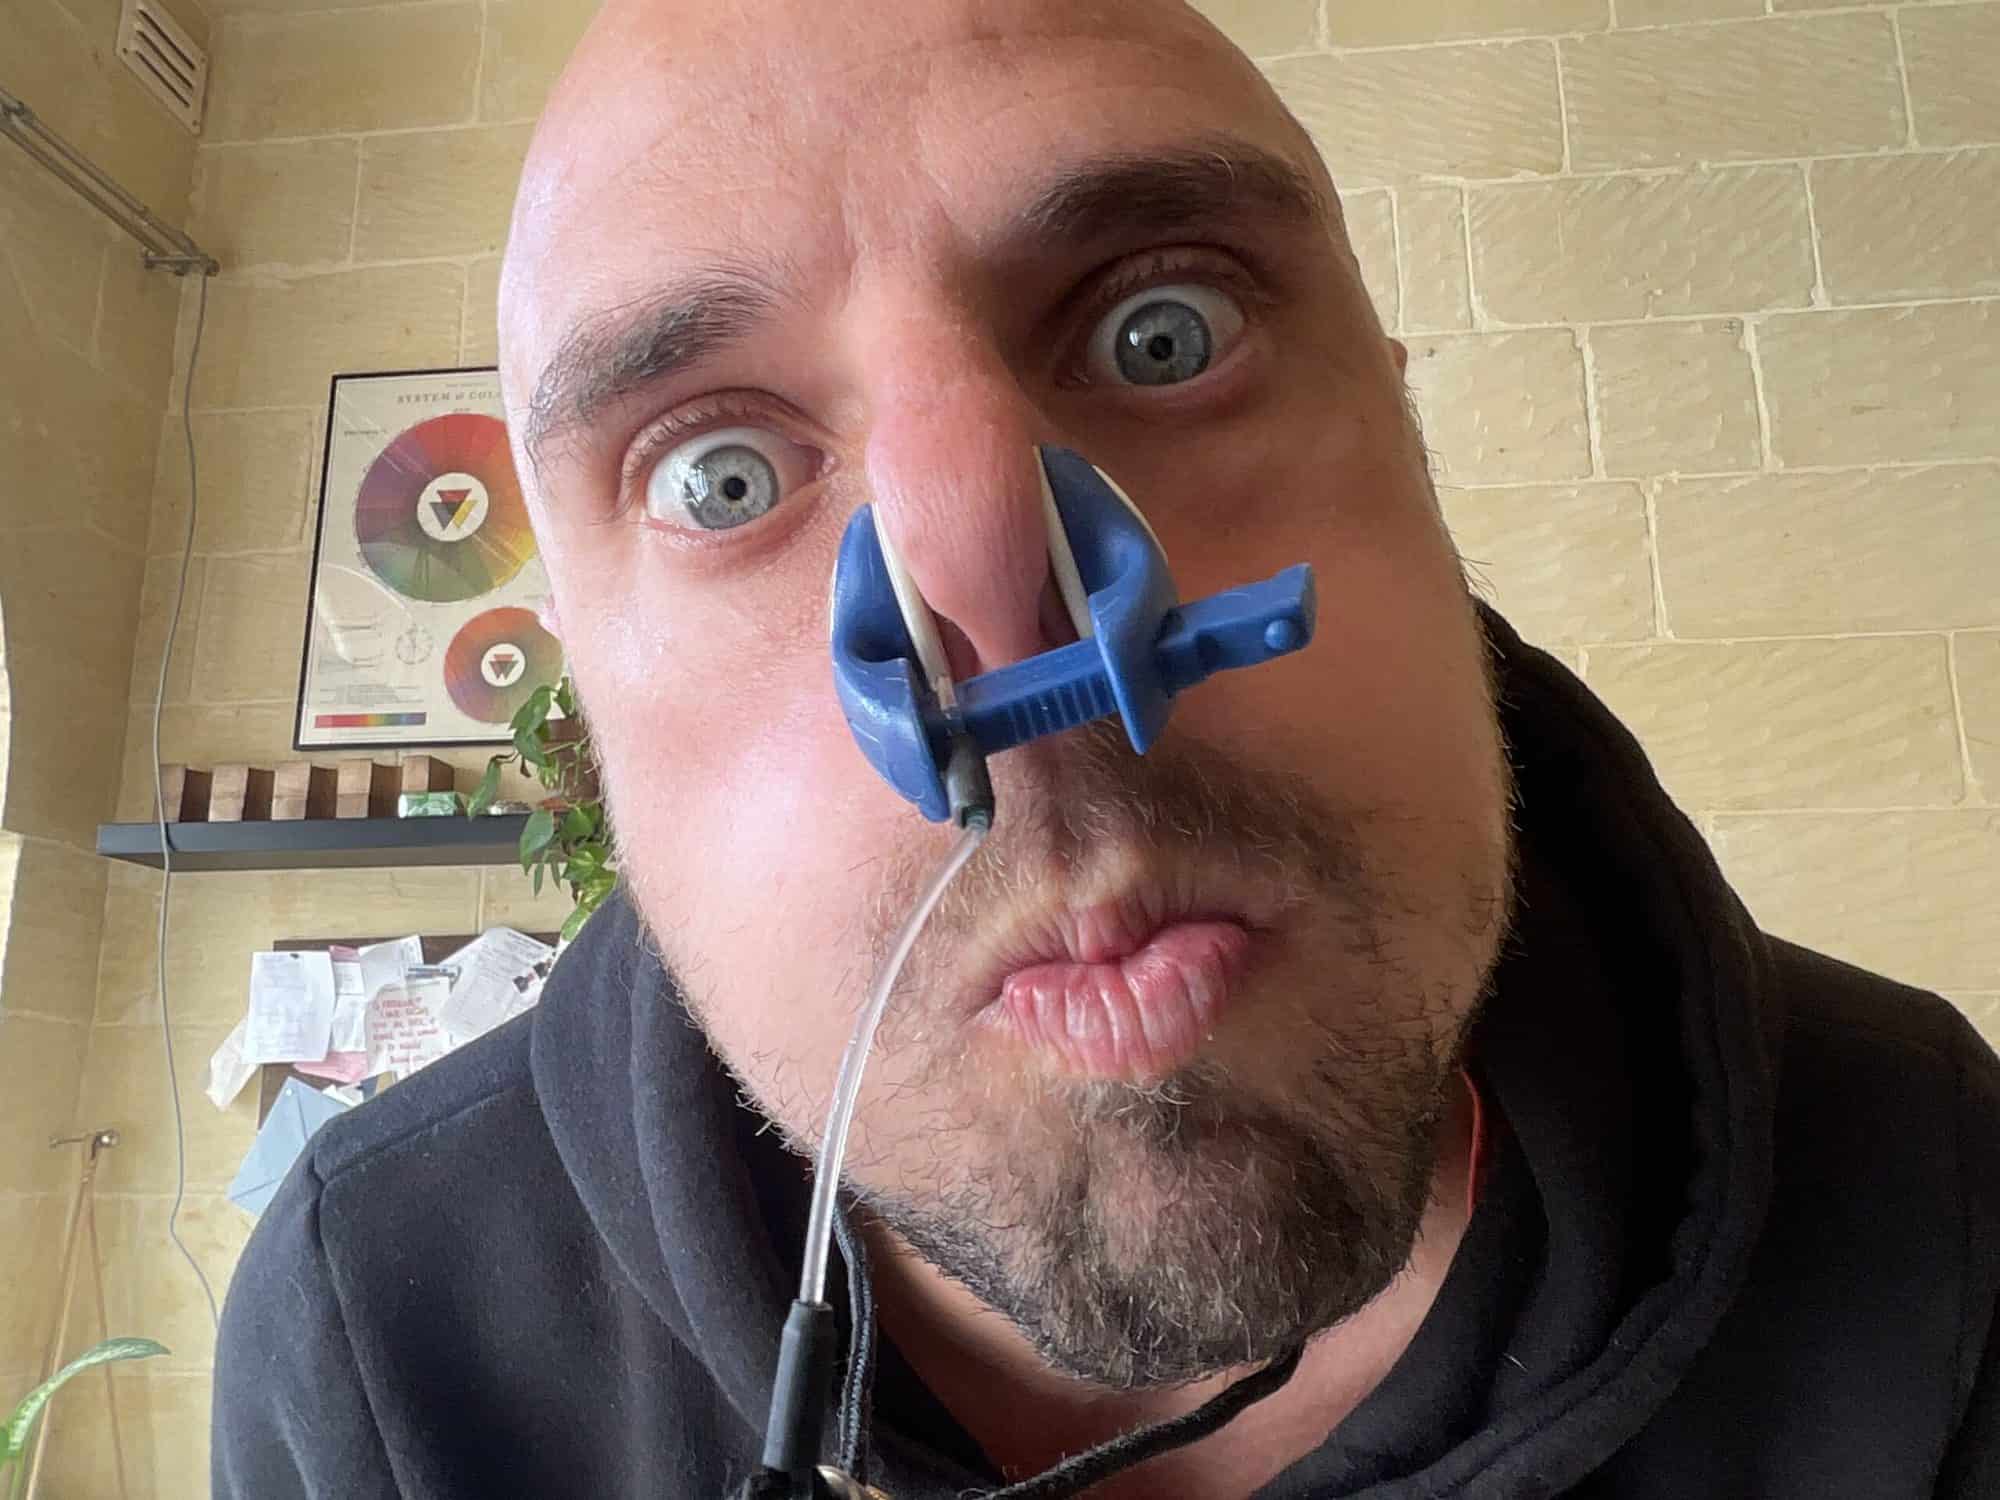
Dry equalisation skills
Whatever level you’re at, do not expect to learn how to equalise in the water. Dry practice for the frenzel or mouthfill technique is essential to increase both awareness and motor control of the muscles involved. Practicing them on dry removes the stress of a breath-hold and being under water which will help you learn the fastest way possible.
We can learn these skills using different types of EQ tools and each tool has its own purpose. Think of learning equalisation from the lowest type of stress possible, adding difficulty as you go along. This is exactly how you should use these tools.
How deep can you take your mouthfill? The calculation method
Mouthfill depth = Surface mouthfill depth x charge depth
For arguments sake, let’s say a freediver charges the oral cavity at the surface (1 bar) and manages the air all the way to 30 metres (4 bar). In this particular case, the freediver took the mouthfill down to 4 bar (4/1).
Now let’s say we take the same charge at 20 metres (3 bar). The charge can be taken all the way to 110 metres. If we multiply the amount taken from the surface by the depth he took the charge, we can calculate how deep we can take it.
Of course, you must take the same amount of air.
Why are you swallowing your mouthfill?
There are a few reasons why you swallow your mouthfill:
- In many cases, this is due to stress (fear, new PB, conditions, mental state, the list is endless..)
- Creating too much pressure (leaking)
- Tensing the abdominal
Oral cavity as an airspace & pump system
There are three areas in which air can be stored in the oral cavity; behind the tongue, the cheeks and the jaw. Once we know how to fill these spaces with air, we can then start to manage and compress the air inside which will equalize the middle ear.
The five structures for self-assessment
When practicing any sort of dry equalization exercise, using a mirror is a vital tool to help guide you. By seeing what you are doing and having an internal image, you will better understand your mistakes and improve at a much faster rate.
Adams Apple
The under chin and Adams apple are visible and they are very good indicators of the position of the back of the tongue that you can’t see
Under chin
The under chin and Adams apple are visible and they are very good indicators of the position of the back of the tongue that you can’t see
Jaw
The Jaw has a tendency to miss along with other variables.
Base of tongue
The base of the tongue is involved in each process. Learning how to use it consciously is the key to success
Cheeks
The cheeks are crucial to learn the mouth-fill technique.
The exercises below are intended for those who already have a strong frenzel technique using all three locks.
How to take a mouth-fill ‘M’ charge
The famous ‘M’ charge is almost exactly like the ‘B’ charge, except now we are connecting the nasal cavity to the Oral cavity. If you had to keep your lips closed and hum by saying ‘MMMMMM’, you will notice air coming out of your nose. This is because the soft pallet is open. If we were to take the same charge by pronouncing the letter ‘M’, both cavities will be connected and in this way we are able to start creating pressure.
How to charge the oral and nasal cavity using the ‘M charge’:
- Loo at yourself in the mirror
- Pronounce the M sound
- During Phonation the air will gradually fill up the air spaces
- Once you feel your mouth full, it should stop naturally
- Hold for a few second whilst keeping the nostrils closed.
Playing around with the ‘M’ & ‘B’ sound whilst alternating is a great exercise for soft pallet and glottis awareness. Use the M’ charge’ exercise to understand the charge and connection with the nasal cavity.
Glottis control
Having complete control and awareness of the glottis is essential to both frenzel and mouthfill. The glottis is the opening between the vocal folds situated in the larynx. Imagine the Glottis as a flap that moves to lock the throat which is assisted by the muscles of the larynx. It is the muscles of the larynx which need training, by both awareness and strengthening.
There are tones of exercises for glottis awareness. Performing the ‘B’ charge is an excellent exercise to understand whether the glottis is open or not. All you need to do is perform the exercise multiple times a day. Just make sure after fully charging the mouth you release the contraction in the abdominals and stomach.
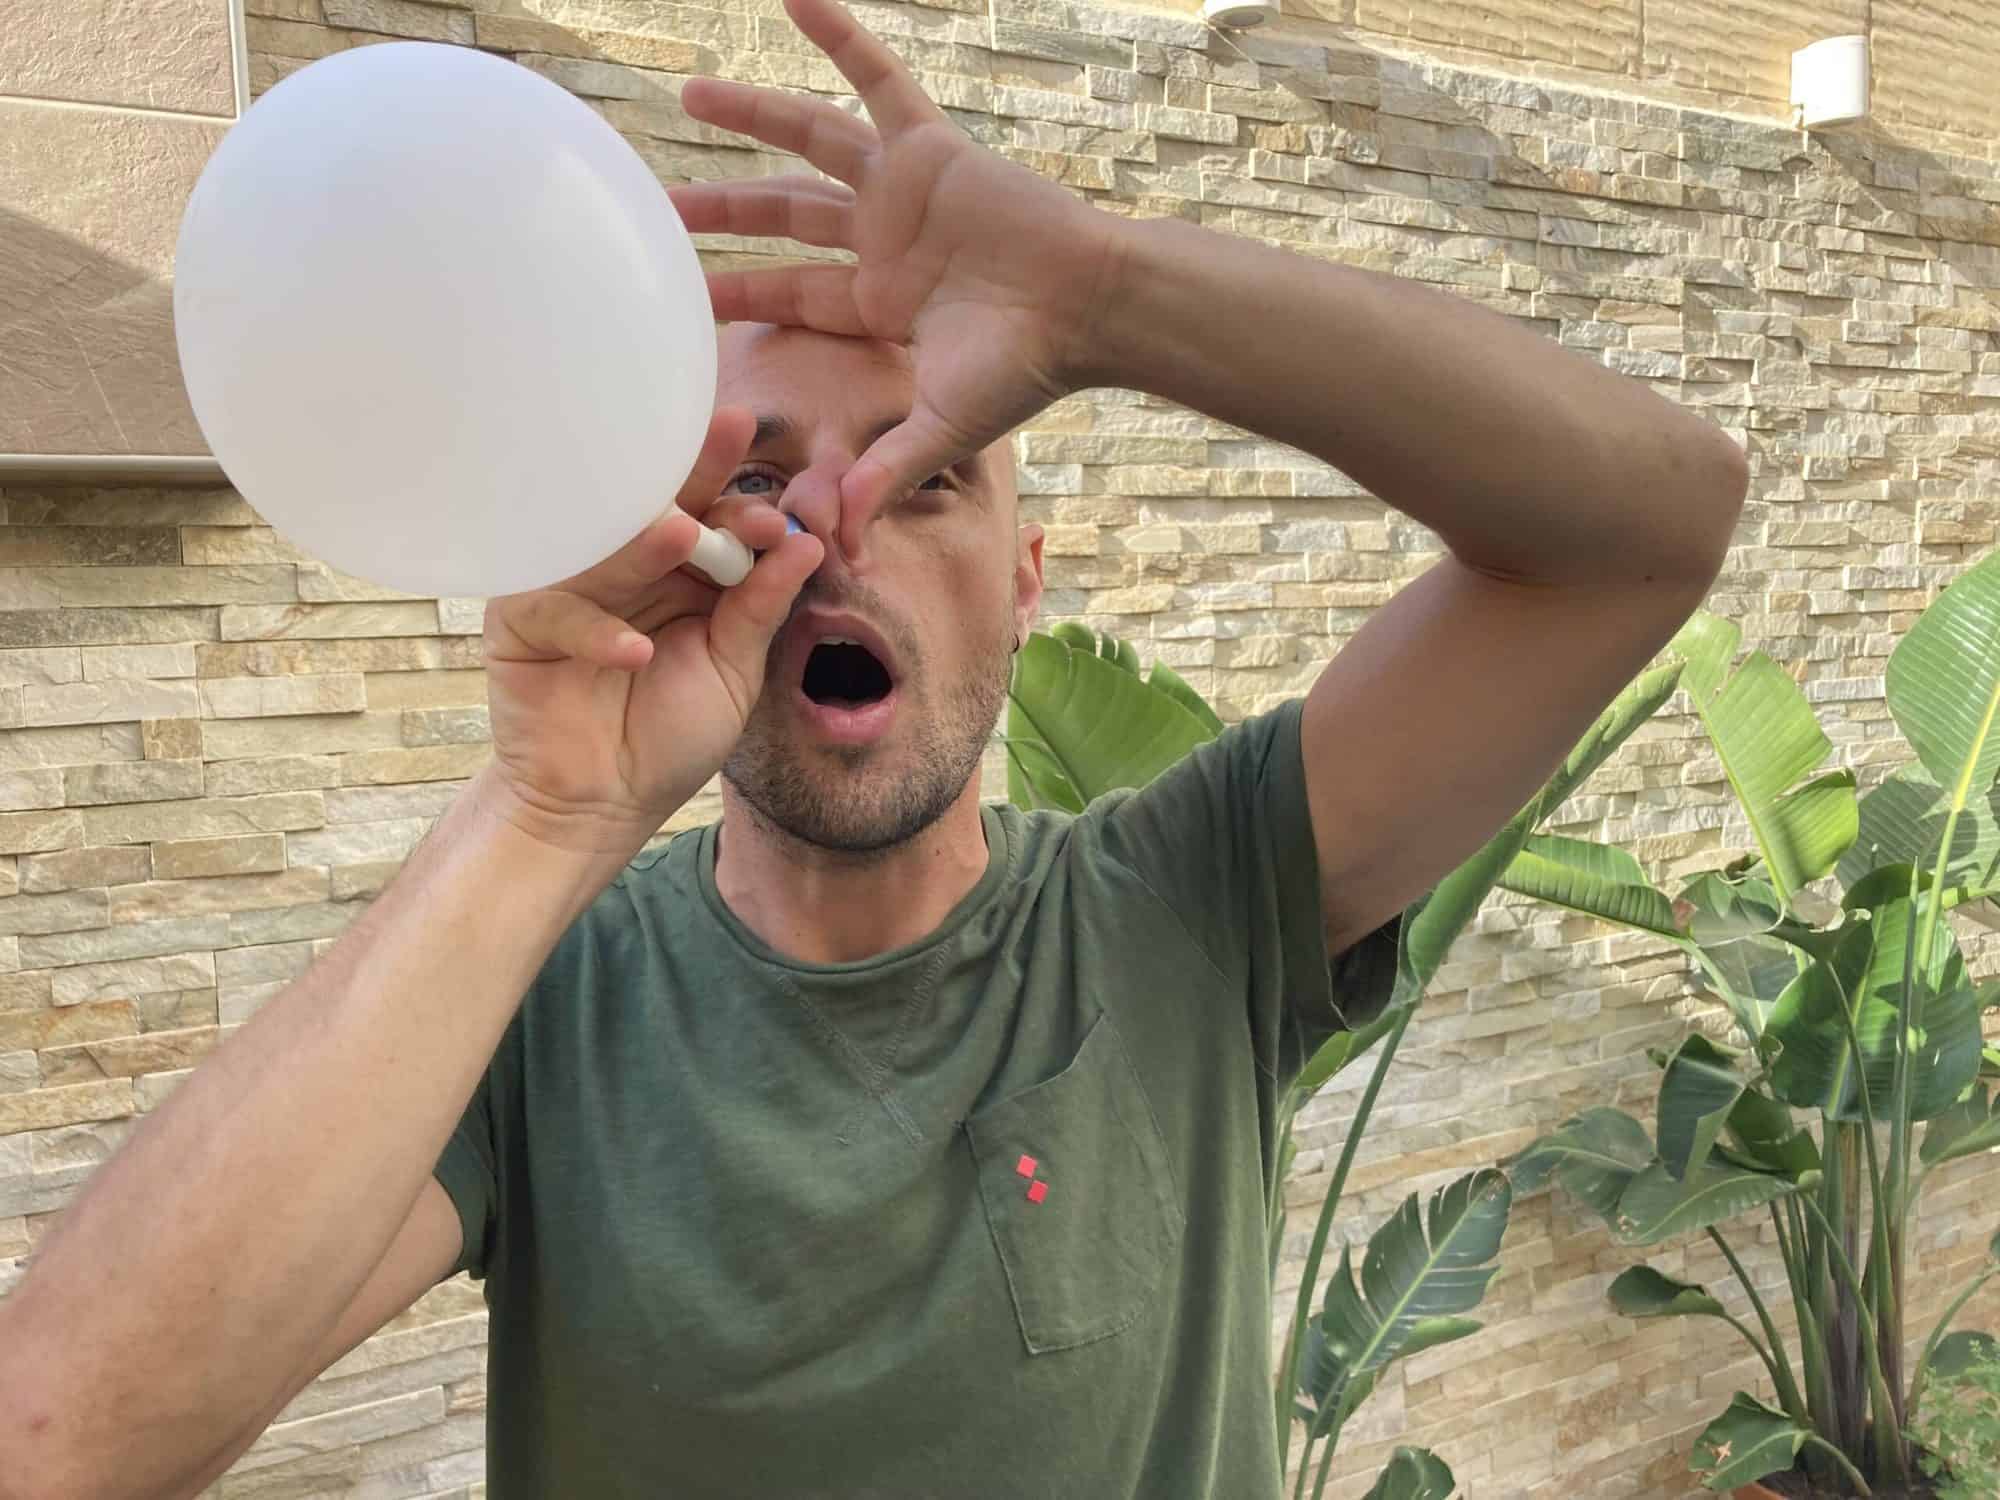
Strengthening the use of glottis and using the mouth as a pump
All these exercises should be performed on a slight exhale with the glottis closed. The tools which are needed are an Ottovent / EQ tool and balloon. The objective is to create an over pressure in the oral cavity always keep the Glottis closed whilst at the same time shifting the air from the mouth to the balloon.
How to use tongue during mouthfill
- Blow up the balloon and hold
- Exhale and hold the glottis closed
- Place the balloon in your mouth and let the air fill up the cheeks, jaw and back of the tongue
- The under chin must be flat and the Adam’s apple far down. This indicates the mouth is full and the tongue is ready to pump!
- Keeping the tip of the tongue near the front teeth, start to pump the back of the tongue up and down. Your Adam’s apple should be moving whilst the jaw and the cheeks should be kept still
How to use cheeks during mouthfill
- Blow up the balloon and hold
- Exhale and hold the glottis closed
- Place the balloon in your mouth and let the air fill up the cheeks, jaw and back of the tongue
- The under chin must be flat and the Adam’s apple far down. This indicates the mouth is full.
- Starting using the cheeks to shift air from the mouth to the balloon
- Pretend like you are giving a cheeky smile to someone. In this, way you are using the front part of the cheeks near the lips.
- The tongue should remain down and the jaw still.
How to use jaw during mouthfill
- Repeat steps 1-4 above
- Use the jaw without using cheeks or tongue to compress the air.
- Try to bite the back of the teeth, this should move your jaw and you should start to understand the movement.
Bonus: Top tips on how to mobilize the jaw, cheeks and tongue
- If you feel the overpressure is overwhelming, start by holding the air in the mouth with the Ottovent attached. Repeat until comfortable
- If you are having trouble shifting air, it’s probably because the overpressure is too much for the motor skill. Try the exercises without a balloon.
- The tongue must always remain down during jaw and cheek movements. This is vital to perform the mouthfill. If the tongue starts moving in the upward direction, it will be locked into the ‘K’ lock position. You will not be able to compress the air with jaw or cheeks anymore.
- Start with small movements and gradually increase
- Repeat, repeat, repeat! Consistency is best. We recommend performing these exercises five times a day for five minutes each time.
Once you have control of all three parts (tongue, jaw and cheeks) you should be able to manage the mouthfill well. It goes without saying that the air should be shifted from the the oral cavity to the nasal cavity. Remember, The ‘M’ charge opens the soft pallet connecting both cavities together.
Conclusion
Always learn the exercises dry in a stress free environment. The more practice on dry land, the more sensitive you will be underwater to mistakes. The mouthfill doesn’t need to be hard, in fact it’s pretty easy. Some divers will be predisposed to having a natural ‘cheek pump’ and others a natural ‘jaw pump’. Work on your weak points. If you’re interested, we offer online coaching for equalization. Fabrice, is a qualified Share instructor and has been trained and guided by one of the best equalization teachers around, Federico Mana.